And now the conclusion of a balanced and somewhat controversial game.! Which I believe has the most photo's I've ever posted in one post. When we last left off...
 |
| The French Left flank was aggressively attacking the Spanish troops who were stoically guarding the Anglo-Spanish flank! |
 |
| The Right flank was aggressively being assaulted with some success as well! |
 |
| And the Center was more or less some Bdes aggressiveness, and others a little bit more cautious! |
 |
| The situation to my front was becoming more confused in close combat/s! |
 |
| So the French left comes to the realization that the Spanish are dug in and are going to be harder to crush than previously thought! |
 |
| The Center units start to come on line, but the initial momentum has been somewhat lost and the Anglo-Spanish forces have successfully deployed their light troops to counter! |
 |
| The situation to my left as Center Anglo-Spanish troops start to move in order to reinforce the Right flank? This was the plan right? Guy's...???????? |
 |
| And the mess my Bde is in! Six enemy guns were destroyed as I continue to battle the KGL unit to my right! |
 |
| To my right a Bde comes up to reinforce my assault and another comes on line to support the Right flank attack! |
 |
| I charge the KGL troops and am pushed back! |
 |
| No worries yet as another Bde moves up on my right! |
 |
| The extreme Right flank is embroiled in close combat as the supporting Bde comes online to reinforce. The fear is possibly it's stretched to thin to be able to capture the Main Objective as some French units retreat! |
 |
| The Center starts to come up and deploy! |
 |
| And the Left flank continues to engage the Spanish to try and force them out! |
 |
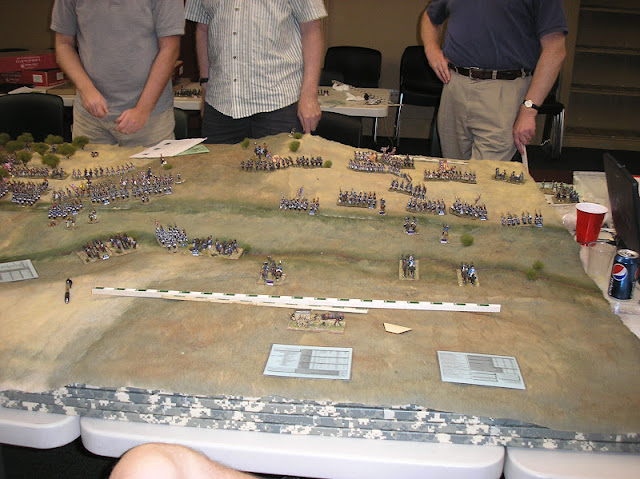
| The overall scene as both sides start to feel the pressure building! |
 |
| A view from the Spanish positions! |
 |
| And the redoubt! |
 |
| And the Anglo-Spanish Center which is starting to move troops! |
 |
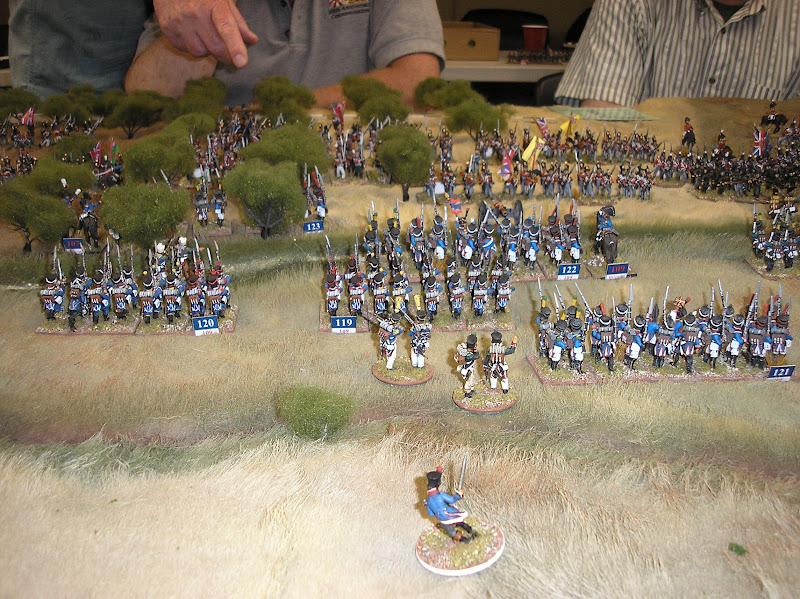
| The scene opposite my Bde from the enemies view! |
 |
| And from the Main Objective which is still strongly manned! |
 |
| And the extreme Left flank as close combats ensue! |
 |
| My unit falls back after charging the KGL as the reinforcement Bde starts to come up! |
 |
| The enemy regroups after the initial attacks caught them by surprise! |
 |
| Charges and counter charges occur on the Right flank! |
 |
| And so far we're looking good! |
 |
| The Center starts to engage! |
 |
| The Left flank starts to redevelop their plan! |
 |
| As my units start to exchange fire as well. White casualty markers = no advance, and Red = Halted unit that must rally! |
 |
| The scene overall as I move some units (2) to the rear and attempt to straighten out what's left! |
 |
| And what's left on the French Right flank! |
 |
| Where units are heavily engaged and have pushed the Anglo-Spanish to the edge with the fear of a possible cavalry attack to their rear! |
 |
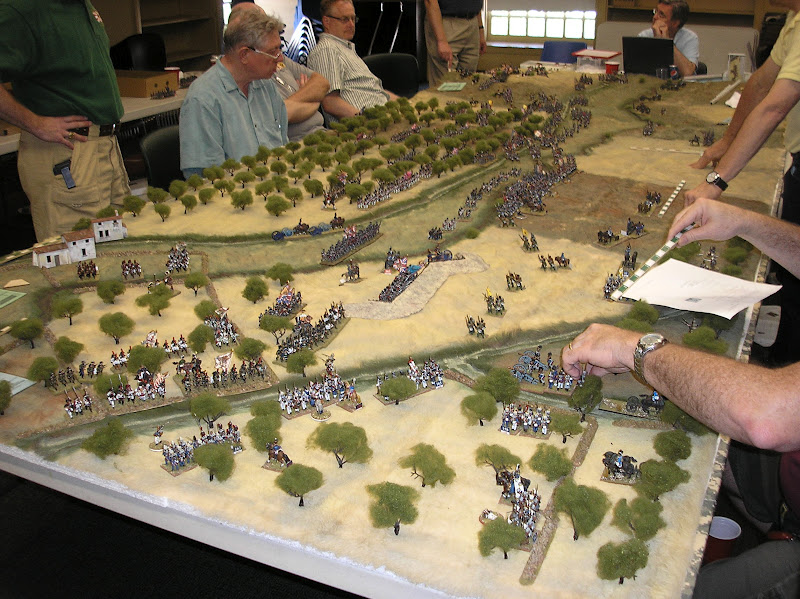
| The overall scene from the Anglo-Spanish positions opposite my forces to our Left flank! As Anglo-Spanish reinforcements move up. Very much still a see saw battle at this point! |
 |
| The view from the enemy positions directly across from my positions! Two of my units that engaged in close combats have been pulled back to rest & rally. |
 |
| The Left-flank decides the Spanish positions are tougher than originally thought and falls back for a protracted firefight! |
 |
| The Spanish hold tough even though their general is found to be cowardice and is shot by his own troops! |
 |
| A closer view! Will this flank eventually collapse? After the officer incident we wonder? |
 |
| Some Anglo-Spanish guns limber up and leave the redoubt! Could this be a break for the French troops attacking that position? |
 |
| The Anglo-Spanish players! Starting to feel the pressure as the Center comes up and they possibly make some mistakes, or Calm, Cool & Collected? |
 |
| The view opposite my position as some counter charges fail and some Anglo-Spanish troops move back! |
 |
| And the situation on the Right flank as all reserves are committed! |
 |
| Will this flank collapse as well? For the French, or the Anglo-Spanish. |
 |
| A close up of the situation for my Bde as more Anglo-Spanish reserves come up! |
 |
| And of the Right-flank which has been heavily engaged in a back and forth fight! The initial Bde does damage and withdraws as reserves come up. |
 |
| The Center from the Anglo-Spanish positions as the battle drags on! |
 |
| The defense looks like a Hell of a lot more enemy troops now than earlier! |
 |
| And the Center which is now looks extremely weaker! The Key being have patience to allow a plan to develop. |
 |
| Some of the Spanish troops finally start to weaken! |
 |
| The overall view before a lunch break! |
 |
| Upon returning the Left continues their plan! |
 |
| As reserves position to assault the redoubt our alternate objective! |
 |
| The Center starts to move up their assault! |
 |
| And support attacks on my left!To try and break the lines and crush the flank. |
 |
| The Right flank Anglo troops secure the Main Objective preparing for our last reserves assaults! |
 |
| My main opponents survey the situation! |
 |
| As charges are prepared to my left & right! Will the highlanders and KGL hold out or finally break and run? |
 |
| The thin Red Line attempts to hold out! |
 |
| The final assaults begin! |
 |
| The "Pas de Charge" is played as the French troops go for Glory! |
 |
| And our guns deploy to prep for capture of the enemies redoubt! |
 |
| The extreme left remains locked in a firefight! |
 |
| The overall scene as the French players question if all will succeed or fail? |
 |
| View from the Spanish Right-flank! |
 |
| The weakened Center! |
 |
| Opposite my positions! |
 |
| As some Anglo units fall back! |
 |
| Will we, or they prevail? |
 |
| And what about the Anglo-Spanish Left-flank? |
 |
| Whose troops at this point are highly fatigued as well? Will the cavalry come on in time? |
 |
| Everyone wonders the outcome! |
 |
| As a visitor provides some input! |
 |
| Additional charges go in! |
 |
| And the flank of the Center starts to weaken! |
 |
| While the Center troops prepare for a protracted firefight as well! |
 |
| The assault on the redoubt begins as well! |
 |
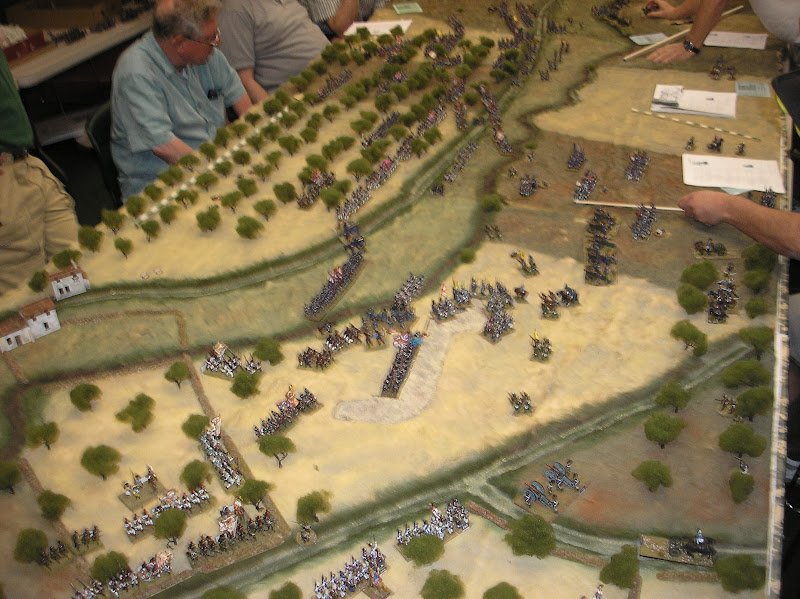
| The overall view at this point! |
 |
| The flank! |
 |
| Center! |
 |
| The Anglo-Spanish players plan their final defenses! |
 |
| The last of the Right-flank reserves come up! |
 |
| As the Anglo-Spanish players prepare! |
 |
| The situation overall as an attempt is made to stabilize the Anglo-Spanish line! |
 |
| The Right-flank is a little thinner! |
 |
| As we start to push the Centers Left-flank! My opposition falls back! |
 |
| I move my wounded and captured guns to the rear! |
 |
| "Ibid" |
 |
| The assault for the redoubt goes in! |
 |
| A close up of additional AS guns captured and troops being pushed back in the Center! |
 |
| And the KGL undergoes it's 4th attack! |
 |
| The press is on for the Main Objective! |
 |
| A closer view! |
 |
| Anglo players asses the final assaults! |
 |
| And attempt to reinforce the entire line! |
 |
| The situation to my front finally breathes a bit! |
 |
| As the KGL & Highlander units finally fail and AS forces collapse towards the rear! |
 |
| The French start to move through the vineyards! |
 |
| And capture a portion of the redoubt (Alternate objective)! |
 |
| And Spanish troops start to break as well! |
 |
| A broader view! If only the French forces could have brought their guns across the Portina as well! |
 |
| The overall view towards the end of the game! |
 |
| Reserves come up to stop the French and their Nassau allies! |
 |
| The Spanish mange to hold on even after the officer incident! |
 |
| And the lines opposite my position attempt to reorganize! |
 |
| A closer view of the French breaking through! |
 |
| The French Right-flank engages in a final firefight! |
 |
| The overall view at ENDEX! |
 |
| The battles results are calculated in the system! |
 |
| And reviewed by the GM! |
 |
| Objective results are included! |
 |
| And in the end the French are declared the victors! |
Gentlemen,
First off - thank you all for participating in this event - I had a blast with this balanced and somewhat controversial game.
Did the French win or lose? Did the Anglo-Spanish win or lose?
The
computer assessed the end of game as a Pyrrhic French victory based
upon the immediate results of missing, dead, wounded and prisoners -
army morale gave the French a very slight advantage, and the French had
the initiative. The next day results returned a minor French victory,
being elevated to a major French victory with all missing and walking
wounded returning to the ranks.
These results came as a surprise to some of the players, both French and Allied.
Here are the Stats:
On the French left:
The
Spanish
lost 362 dead, wounded and prisoners, with one unit not under orders -
this doesn't include the British of Campbell's division engaged in the
redoubt.
Levals Germans lost 353 d, w & p, with all units under orders.
In the center:
The three British divisions lost 1,566 dead, wounded and prisoners, with eleven units not under orders.
The two French divisions lost 2,461 d, w and p, with a similar eleven units not under orders.
On the French right:
The British division lost 463 dead, wounded and prisoners, with five units not under orders.
The French division lost 1,451 d, w and p, with a similar five units not under orders.
Clearly
and understandably the attacking French took the higher casualties, but
the number of units not under orders, was almost identical. That means
it was close.
As a potential what-if, I took the
liberty of
removing the French dragoon division from the army stats [this
replicated the British and French watching them ride south towards
Talavera, and beyond the immediate support of the French front line], to
see what this would have done to the overall army morale situation,
with the following results:
French available strength 73% [poor] - Allies 75% / advantage Allies
French fatigue 68% [poor] - Allies 63% [poor] / advantage French
French morale 65% [poor] - Allies 72% / advantage Allies
French combined totals 74% - Allies 76% / advantage Allies [just - but not enough to result in a break in army morale]
With
the French dragoon division included, you will remember that the
combined totals were French 78% versus Allies 75%, with a break in
British army morale.
So with the threat of the
dragoons - the
British felt they'd lost - and the French considered they'd won, but at
too great a price.
Without the threat of the French dragoons - the
British felt they could continue the fight, even though on the point of
exhaustion -and whilst the French hadn't been beaten outright, the status of their morale, fatigue and losses, meant they were effectively done.
All the best
Nigel
 |
| And the results end with a Major Victory for the French! With my unit receiving the honors (Legion of Honor 1st award) for the French side in the battle! And the KGL unit that opposed me for the Anglo-Spanish side. |
Several viewers have asked about, or commented on the terrain used in the game! A tutorial can be found here;
The Rules used were Carnage & Glory II and can be found here for several periods;
http://www.carnageandgloryii.com/whatsavailable.htm
THE END!


No comments:
Post a Comment