 |
| When last we left off "Napoleon Halts the Retreat at Marengo"! |
“Well, what do you think?”
“This battle is completely lost, but there is time to win another”
– First Consul Bonaparte
and General Desaix
On 14 June 1800, the French army under Napoleon Bonaparte was taken by surprise and attacked by the Austrian army under General Melas. Outnumbered and outgunned, the French were defeated and forced to retreat. But later that same day, French reinforcements arrived under General Desaix, and in what amounted to a second battle the French counter-attacked and won, taking thousands of prisoners and driving the Austrians from the field.
Thus was won the battle of which Napoleon was always the most proud – Marengo.
 |
| The defenders of BUA #1 attempt to flee and save themselves after being massively overrun! |
 |
| And BUA #2 catches fire! Things are not going so well for the French! |
 |
| The enemy received reinforcements on turn 3 (3 Bdes and Arty) and presses forward en masse! |
 |
| Austrian artillery bombards la Stortiglione! |
 |
| Austrian Artillerymen! |
 |
| BUA #2 catches fire and the occupants are forced to vacate in the face of the enemy! While the Artillery continues to hold out. |
 |
| French Artillerymen! |
 |
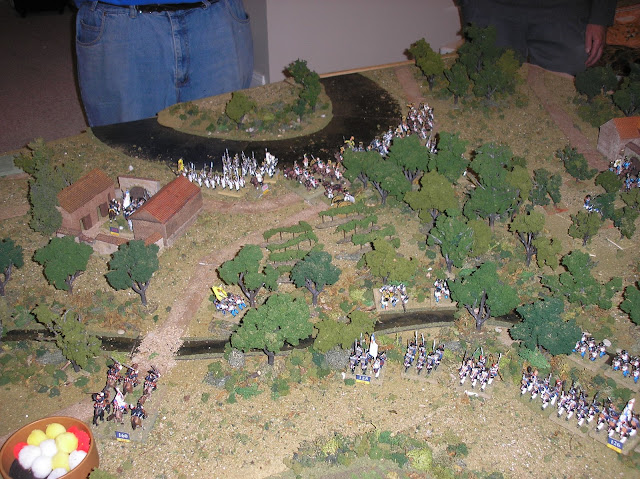
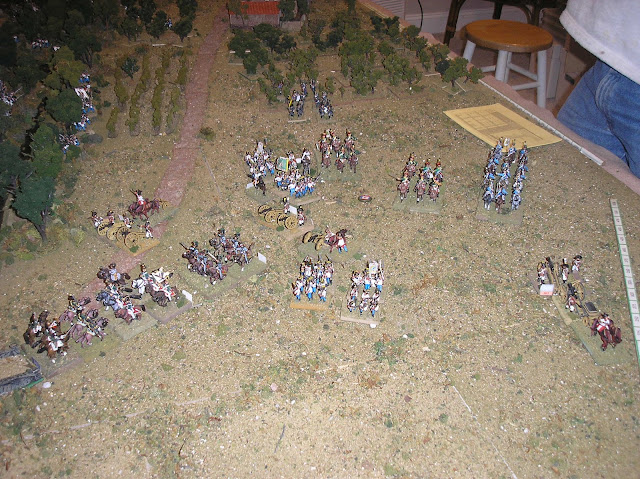
| Our reserves rapidly deploy to attempt to stem the Austrian tide as some continue to flee (White Puff) & others are badly mauled (Red puff)! |
 |
| The Austrians attempt to break our lines but are fortunately stopped and sent back across the river (R)! |
 |
| Hopefully we can stave of this mass as they rapidly move towards my position? |
 |
| And since BUA #1 has now been cleared they decide to move on towards my positions! |
 |
| And BUA #2! |
 |
| Deployed French artillery at BUA #2 decide to flee area! |
 |
| Our lines attempt to stabilize, stop the fire, and plug the gaps! Will it be to little to late? |


No comments:
Post a Comment