
Geography:
The road net in the vicinity of the battlefield resembled the Greek letter lambda (λ). The village of Altare, which was on the main east-west road from Savona to Ceva, lay at the bottom of the left leg, to the west. The Cadibona Pass was just east of Altare. The village of Madonna di Savona was located at the bottom of the right leg, to the east. Montenotte Superiore could be found where the right and left legs come together. From Montenotte Superiore, the road continued to the top of the λ at Montenotte Inferiore. Monte Negino (or Monte Legino) was at the midpoint of the right leg, between Montenotte Superiore and Madonna di Savona.
Battle:
Monte Negino:
Due to poor staff work, the attack of Argenteau's right wing did not begin until 11 April. On that day, the Austrians moved with 3,700 soldiers against a French position on Monte Negino. Argenteau led one battalion of Alvinczi Infantry Regiment (IR) # 19 and two battalions of Archduke Anton IR # 52 to a position near Montenotte Superiore. There, the Austrian rendezvoused with General-Major Mathias Rukavina, who commanded one battalion each of Stein IR # 50 and Pellegrini IR # 49 plus three companies of Grenz infantry from the Gyulay Freikorps.The Austrians began to press southeast down the right leg of the λ, driving in the enemy outposts on Monte San Giorgio and Monte Pra. Colonel (Col.) Henri-François Fornésy, with about 1,000 French troops of the 17th Light Demi-Brigade held an old Austrian-built redoubt atop Monte Negino. These soldiers were joined by Col. Antoine Rampon who assumed overall command. An additional 1,192 men of the 32nd Line from Madonna di Savona arrived to help.The road to Monte Negino followed the crest of the Apennines. Led by the Croats of the Gyulay Freikorps in skirmish order, the Austrians pressed their attacks. At a moment when the French troops were wavering, Rampon rallied them by making them swear to 'conquer or die', according to one eyewitness. All the Austrian attacks failed and Rukavina was shot in the shoulder. Argentau called a halt to operations about 4 pm. That evening, he sent to Lieutenant Colonel (Lt. Col.) Karl Leczeny in Sassello for reinforcements. Rampon estimated Austrian losses at 200-300, but they were probably closer to 100. The French reported 57 casualties.
Our Order of Battle;
French Forces:
Division Massena (-)
[106] General de Division Massena - Active A [1025 paces]
[113] 2em Btty/6 Art a pied 103 [4x8lb] B-
Battalion Rondeau
[104] Chef de Battalion Rondeau - Active B+ [250 paces]
[140] Converged Grenadiers 482 B+ [sk]
Brigade Pijon
[105] Chef de Battalion Pijon - Active A- [275 paces]
[144] 1em/21 DB Ligne 749 C+ [sk]
[145] 2em/21 DB Ligne 744 C+ [sk]
[146] 3em/21 DB Ligne 745 C+ [sk]
Brigade Menard
[103] Chef de Battalion Menard - Active A- [275 paces]
[101] 1em/8 DB Legere 519 B [sk]
[102] 2em/8 DB Legere 501 B [sk]
Division Laharpe
[102] General de Division Laharpe - Active B+ [950 paces]
Attached units – commanded by Laharpe or assigned elsewhere
[104] 1em/17 DB Legere 493 B [sk]
[105] 2em/17 DB Legere 446 B [sk]
106] 3em/17 DB Legere 462 B [sk]
[110] Sqdn/7em Hussars 121 B- [sk]
[114] 3em Btty/6 Art a pied 108 [4x8lb] B-
Brigade Cervoni
[108] General de Brigade Cervoni - Active A- [550 paces]
[121] 1em/14 DB (Prov) Ligne 499 C- [sk]
[122] 2em/14 DB (Prov) Ligne 502 C- [sk]
[130] 1em/99 DB Ligne 748 C+ [sk]
[131] 2em/99 DB Ligne 754 C+ [sk]
[132] 3em/99 DB Ligne 746 C+ [sk]
Brigade Fornesy
[109] General de Brigade Fornesy - Active B [450 paces]
[124] 1em/70 DB Ligne 538 C+ [sk]
[125] 2em/70 DB Ligne 541 C+ [sk]
Strengths:
10008 Infantry; 121 Cavalry; 211 Artillerists; 8 Cannon
10345 Total of all arms; 7 Standards present
Austrian Forces:
Division Argenteau
Division Argenteau
[501] Feldmarschall-Leutnant Argenteau - Active C+ [800 paces]
[520] Sec/Arty Btty 2/9 Reserve 78 [2x6lb, 1xHow] C+
Brigade Rukavina
[503] Generalmajor Rukavina - Active C+ [400 paces]
[507] 1st/ IR44 von Preiss 502 C
[509] Bn/ IR 16 Terzi 563 C [sk]
[510] Bn/ IR 50 Stein 675 C [sk]
[511] 2 Cos/Freiwilligers Grenz 198 C [sk]
[512] Bn/IR 49 Pellrgrini 538 C
[505] Bn Gun/IR 44 53 [2x3lb] C
[516] Bn Gun/IR 50 55 [2x3lb] C
Brigade Sebottendorf
[504] Generalmajor Sebottendorf - Active C+ [400 paces]
[508] 2 Cos/Gyulai Freikorps 180 C [sk]
[514] Bn/IR 19 Alvintzi 520 C
[515] Bn/IR 52 Erzherzog Antoine 890 C
[517] Bn Gun/IR 52 55 [2x3lb] C
[518] Bn Gun/IR 49 50 [2x3lb] C
Strengths: 4066 Infantry; 291 Artillery; 11 Cannon
4357 Total of all arms; 6 Standards present
 |
| The Map! |
 |
| Topography! |
 |
| This view shows all that remains of Cascina Garbazzo, the farmhouse where the Austrian troops under General Argenteau assembled before attacking Monte Negino. |
 |
| My first (Gen. Laharpes) objective was to try and brush aside these pesky front line Austrian troops from Monte Pro! |
 |
| View from the Austrian perspective! So far things looked pretty good? Napoleon looks on with approval from the position of Monte Nagino. |
 |
| Making a Cameo appearance! |
 |
| This figures first appearance on table. Painted as First Consul. |
 |
| My dispositions after turn 1. Looking from French view. Some Austrian Grenz appear to right rear. I should crush these guy's (Right)? |
 |
| A broader view of the enemy dispositions appears! Remember there was only 400 paces of view initially. My troops are charging in as there's only 7 turns left! |
 |
| The Austrian Center! My Main Objective (OBJ) is to capture the stone wall area! |
 |
| The Austrian Right flank is a formidable obstacle! |
 |
| As Massena's troops arrive! |
 |
| A view of the French Left flank from Austrian perspective. Room to maneuver is limited by the costly terrain which limits movement to half! Murphy appears here unknowingly (Troops fatigue quicker). I have no idea! |
 |
| A view of the French Right flank from Austrian perspective. |
 |
| Turn two Massena with not a lot of room deploys his forces I was hoping to get my guns into action quickly. (Murphy). The Right flank goes into open order in the woods (Fatigue). |
 |
| All Austrian forces are now on the board! |
 |
| I should have moved a little slower as now my line of advance to the Main OBJ is now blocked! |
 |
| One on my main units becomes disordered (Red) as the attack on the Austrian Front line troops progresses |
 |
| A closer view of the action! |
 |
| I deploy some Legere to my right to deal with the Grenz! The 106 will derive honors this day. |
 |
| Murphy on my Left flank prevents my guns from being able to fire as my own troops are masking the main Austrian unit. Counter battery proves largely ineffective as well! |
 |
| A broader view as Austrians move up to reinforce! |
 |
| And of the Austrian Left flank as well! |
 |
| A closer view! |
 |
| It's turn 3 already and the charges are in! |
 |
| Napoleon readjusts for the main effort! |
 |
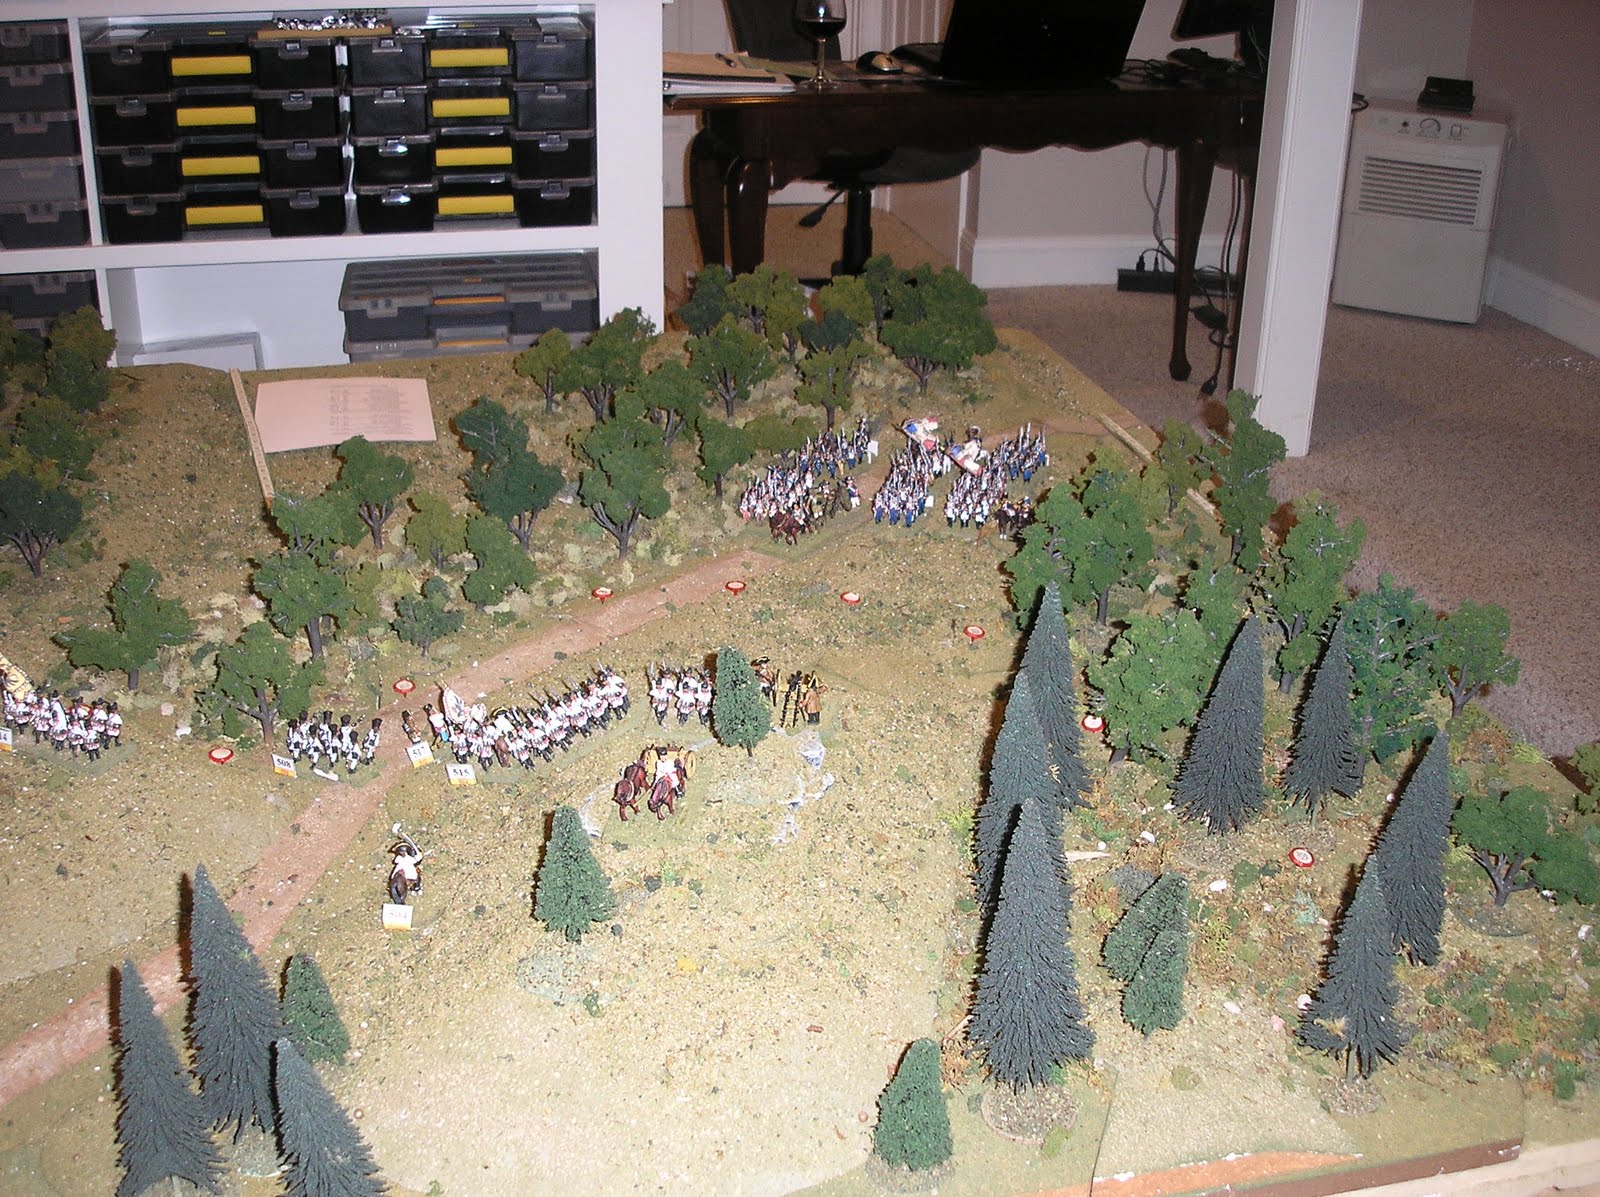
| Finally the Austrians retreat in disorder (Red) and rout (Yellow) from their initial positions. Victory is to the Emperor in his initial assault on Monte Pro! One of my commanders is wounded and removed from the field until turn 7. (Damn Murphy) this will effect me. My other units charge in as well on the main road and secondary positions. My artillery has still not fired a shot in anger! (So far so good Right??????) |
TO BE CONTINUED..........
Enjoying the report and the lovely photos.
ReplyDeleteRodger,
ReplyDeleteThanks, More to come!!!!!!!!
Chris