Showing posts with label Rivoli 1797. Show all posts

Friday, August 5, 2011

The Battle of Rivoli, 1797, Conclusion!

Unfortunately my vacation coincided with the second part to this battles schedule and I was unable to attend it. I did however receive a follow up battle report; (It was needless to say not a surprise!)


Great sites for all interested in Italian campaigns


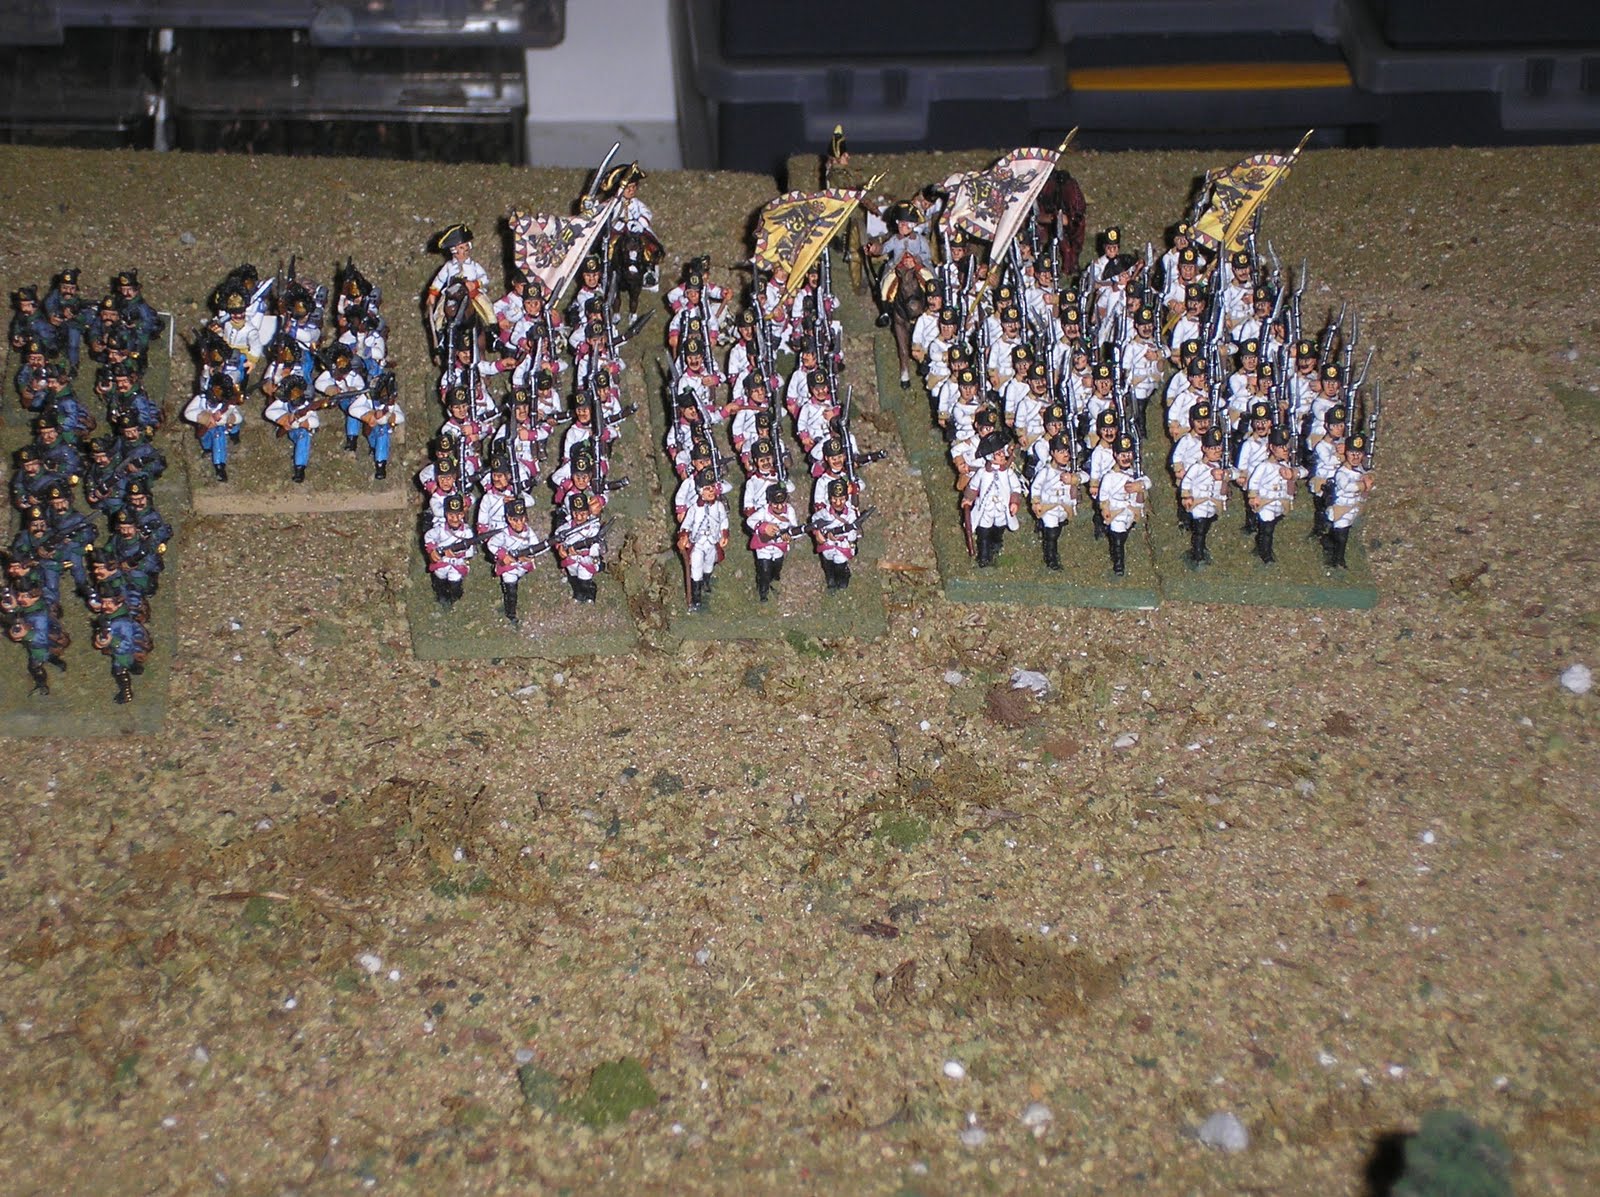
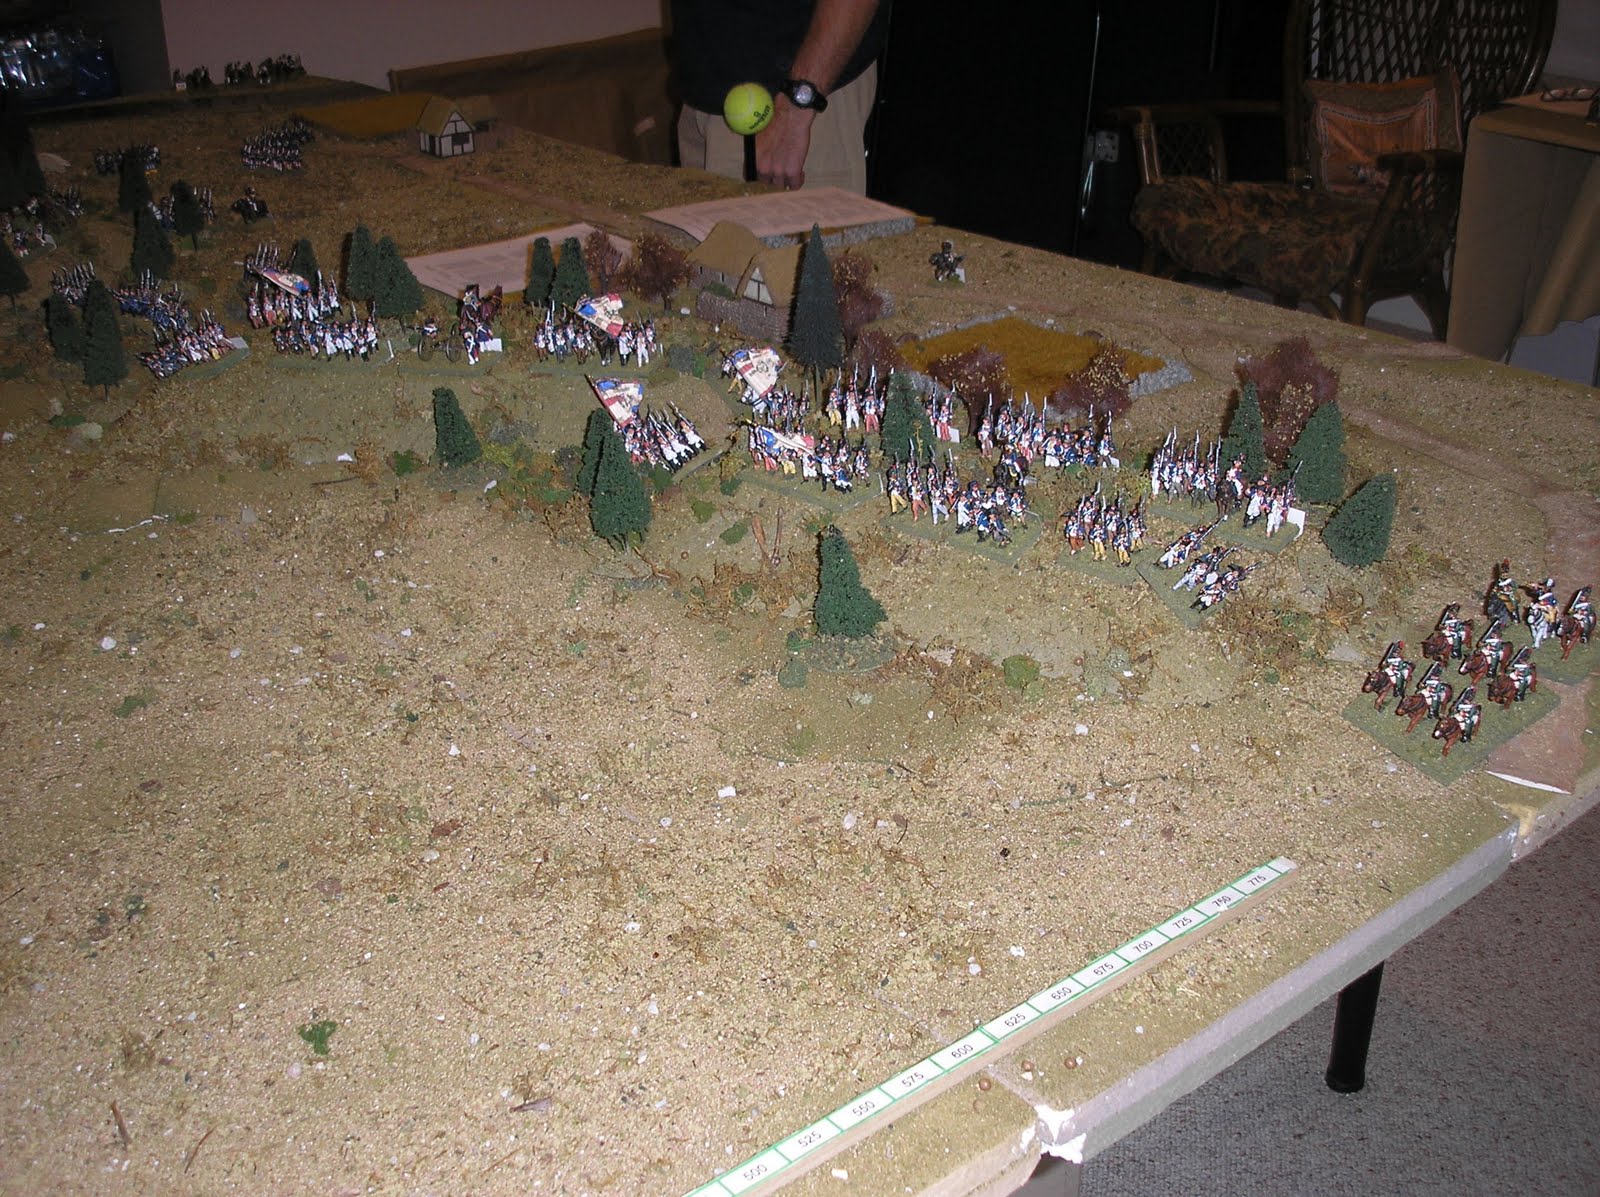
Major victory for the Tirolean Corps - Steve took the Austrians and me the French (Chris could not make it).  He took the initiative and continued the Austrian cavalry attacks I initiated the previous week - the attacks were aimed at the four red French battalions that fled over the hills - they were wiped out.  As the French reinforcements arrived the Austrian cavalry went over the hills into counterattack positions in the event the French counterattacked his RED AND WHITE infantry bns,  But it was too late for the French, on the next turn (8) their army morale dropped to 73 and we called the game.

Some adjustments that led to the Austrian success:

1) Ruess Bde entered on Turn Two and the 1st Massena infantry bde entered on Turn six -- too much of a gap (will change to Turn four)
2) Historically the Massena Div cavalry arrived by 1 PM, an hour after the renewed Austrian attack at 1200, but in the game they arrived on turn seven -- too much of a head start for the Austrian cavalry
3) A slow Austrian advance on line that kept firing pressure on the French produced crippling casualties -- the only recourse is a 3-4 bn French reserve that can attack in column anywhere the Austrians start to fatigue or go white/red

The Army Of Italy has suffered losses of:
 [ 31%]   6282 men of all arms
   incl.[ 10%]   2020 prisoners of all arms
 [ 33%]   6209 bayonets
 [  3%]     34 sabres
 [  6%]     39 artillerists
Honors: [ 113]  3/11 Arty a pied

The Tyrolean Corps has suffered losses of:
 [ 19%]   4392 men of all arms
   incl.[  2%]    544 prisoners of all arms
 [ 21%]   4375 bayonets
 [  1%]     13 sabres
 [  0%]      4 artillerists

Honors: [ 510] Bn#3 Mitrowsky IR 40

Historical Account;

Over the next few months, Alvintzi menacingly hovered in the Bassano region, gathering up reinforcements from the Trieste region that increased his army’s strength to 45,000 men. Napoleon had roughly the same number of men but 10,000 of them were committed to the continuing siege of Mantova. Prior to Alvintzi’s last attack, the French army was in the best possible defensive position. Joubert’s division was garrisoned between La Corona and Rivoli on the eastern side of Lake Garda, in close support of Massena’s division in Verona. Augereau was positioned on the Adige River, south of Ronco, while General Rey occupied the western shores of Lake Garda. Sérurier, recently recuperated, took over command of the Mantova siege from a now ill Kilmaine.

On the 8th of January 1797, the first contact was made between Austrian and French forces and Augereau was driven back by an Austrian advance at Bassano. Augereau, believing that this was the main Austrian advance, sought reinforcements. Napoleon believed that this Austrian advance was only a diversion and that the main attack was still to come. Napoleon was soon proven correct. Joubert was attacked by a sizeable force and had to retreat from La Madonna di Corona, the small village just north of Rivoli. Alvintzi had revealed his plan. His Lake Garda column was sizeable, totaling 28,000 men. Bonaparte acted quickly, ordering Joubert to hold his position at all costs while he summoned Massena and Rey to move to Rivoli at once.

The battlefield at Rivoli favoured the French. There were several routes to move along between Verona and Rivoli all leading to a horseshoe-shaped ridge called the Trombalore Heights, between the Adige and Tasso Rivers. The Austrian army had less to work with, as there were only two mountain roads along which the troops could move southward.
The key to French victory would be the speed at which the reinforcements could be brought to battle.

At 6:00am on the 14th, Napoleon ordered Joubert to position his division on the eastern flank of the plateau and to hold off the Austrian forces under Koblos and Liptay. Massena arrived shortly thereafter and was ordered to position his division on the western flank. By 10:00am, the French had 17,700 men on the field. This number would increase to 23,000 with the arrival of Rey’s division.

The crucial point in the battle came later that day as the Austrians flanked the French forces by seizing the Osteria Gorge to the east of the Trombalore Heights. Napoleon quickly ordered Joubert’s forces to move east to counter the Austrian advance. The French commander trained his artillery on the densely packed enemy from above and decimated the Austrian force, bringing about a full retreat.   The Austrians were defeated. Over the two days of fighting, Alvintzi’s army sustained 14,000 casualties and 11,000 prisoners. The remainder of the Austrian army retreated up the Adige signaling the end of the Austrian offensive of 1796-7 in Northern Italy.

All that remained was the siege of Mantova. Würmser held out until the 2nd of February 1797, when the fortress was turned over peacefully to the French. Of the garrison of 30,000 men, only 16,000 were able to walk out of the fortress without assistance. The fall of Mantova completed Napoleon’s conquest of Northern Italy. Napoleon may have won the battles but the war was not over. The Austrian Government refused to capitulate to the French Government and made preparations to create another army under their best commander, the Archduke Charles.

Sources:
Chandler, David G. (1966). The Campaigns of Napoleon. New York: MacMillan
Publishing Co., Inc.

Britt, Albert Sydney (1986). Atlas for Wars of Napoleon. Wayne, N.J. : Avery Publishing Group

Friday, July 22, 2011

The Battle of Rivoli, 1797, AAR#2

The Campaign in Italy, 1796-97: Rivoli 14 - 15 January 1797


Virtual Battlefield Tour


By Bill Peterson

In the final attempt to relieve besieged Mantua, 28,000 Austrians under d’Alvintzi advanced down the Adige Valley, confident of overwhelming Joubert’s Division of 10,000, while smaller columns struck at Verona and Legnano from the east. Bonaparte recognized the direction of the main threat and sent Masséna’s and Rey’s Divisions marching through the night of 13-14 January to reinforce Joubert at Rivoli.

From daybreak to 9:30 AM, Joubert’s Division stood alone against the full weight of the Austrian attack along the Trombalora Heights and the Osteria Gorge. As the first elements of Masséna’s Division arrived to shore up the line, a new threat appeared to the rear where Lusignan’s Austrian column of 4,000 men completed a wide flanking movement from the west and seized Monte Pipolo. Brune’s Brigade was turned about to face south against Lusignan, while the 57e Ligne of Rey’s Division attacked Monte Pipolo from the south.

Meanwhile, the crisis of the battle occurred in the Osteria Gorge, where Quasdonovitch’s column came perilously close to rupturing the French line. Close-range fire by a light-artillery battery and an epic cavalry charge led by 21-year-old Chef d’Escadron Lasalle repulsed the Austrians.

On 15 January, Joubert pressed the retreating Austrians northward while a fast column under Murat and adjudant-général Veaux swept ahead and occupied the pass at La Corona. This maneuver forced the surrender of an additional 4,000 Austrians, making a total of 12,000 losses (including 8,000 prisoners) over the two days against French casualties of 3,200. With no further hope of relief, Mantua was surrendered on 2 February 1797.

http://www.napoleon-series.org/military/virtual/c_rivoli.html

View from the San Marco crag to the north. Monte Magnone is in the background. Casemates of the late-19th-Century Forte San Marco are visible in the foreground, demonstrating the continuing strategic significance of the Rivoli position.
 
 
The Austrians push up all along our French positions on the ridge line. They're hesitant to approach as terrain has a double cost for movement. Units with white can't move unless leader attached.
 
 
And the position on the (French Right Flank). Remember Austrian reinforcements are arriving here to the right. Our rear area.
 
 
Basically in this area and their artillery across the river has already pinned some of the units!

These pesky buggers! A view from their position.

It appears we're going to be encircled! I think that's not GOOD?????????
A view from the flank and of our Austrian enemies (People & figures)!
Being good Frenchman what else can we do? "We can fight" and try to inflict as many casualties as possible, but the Austrian units are bigger and pack a punch. Although they will tire quicker as well. Units with Red have suffered casualties and retired. They must rally and then decide to continue on, or not? A view of my troops so far.
And of the Center.
The enemy presses forward along our entire line.
And along the Right flank as well.Hopefully we can hold them off till our reinforcements (Massena) arrives in a couple of turns.
They're positioning in our rear as well. The pressure is mounting!
Maybe if we hide in these trees? "Damn a 3lb mountain gun"

To late, troops are quickly becoming decisively engaged along the entire line.

CAUTION, objects appear closer than they actually are.
The Austrians are relentless in pressing the attack!
And then my good friend Murphy shows up. Hey Murph, what's up? Thanks for &*()%$#@!
And the entire French line starts to crumble. Maybe if I stuck to my original plan with my cavalry I could have held the Austrians up a little more? I don't know!
A view towards the Center.We appear to be getting the worst of it. See the units retired to our rear already that must be rallied or lost? What's a commander to do? Their friends will be joining them soon!

A great view of the overall chaos amongst our line and to our Right flank. My commander has rallied my cavalry which evaded a charge. Hopefully my cav can contribute (I.E. Save our ass) in the near future? The other infantry unit in Red to their left is about to be overrun.

After the third turn here's whose still standing. Units in Red have attached leaders. Thus prevented unit from retiring. Things ain't looking so great!
My other unit rallies next to my cavalry, but things aren't looking to good. "Give me night, or give me Blucher",  Uh-oh wrong battle, I mean Massena "HELP"!
 
My leader rallies some infantry as others in Yellow rout. Notice the nice Austrian horde!

The Austrian threat on our rear.

A view of the overall situation until next turn. Thank god Massena arrives, but is it to late?

And from the Austrian perspective. Tune in for the follow up!

The terrain for real.

TO BE CONTINUED......

Thursday, July 21, 2011

The Battle of Rivoli, 1797, AAR#1

So a couple of days ago my friend Tom sent me the following;

Reminder that this Wed is a re-fight of the Rivoli scenario.   (A second chance to play the scenario I promised a while ago had reappeared, I immediately jumped!)

Based on the last game, the French units will remain unconsolidated (stay in small battalions), the terrain will be adjusted to incorporate the Adige River bend, the deployment of two Austrian batteries on the other side of the Adige river (reflecting actual deployment), the separation between the arrival of the Austrian 4th col in the river bottom and the arrival of the Massena reinforcements is now three turns rather than the next turn. The Austrians will be able to deploy three 3-lb guns (one per col) to reflect the mule-packed mountain guns hauled over Mt Baldo. We will see if that helps the Austrians (who Steve gets to play this time!)


Title:  Battle of Rivoli
Start Time: 11:30 am
Host: Tom Garnett
Rules: Carnage and Glory (Computer assisted)
Scale: 28 mm
Number of Players: 6                                                                         
Table Size: 10’ x 6’

Event Description:
The Battle of Rivoli (14-15 January 1797) was a key victory in the French campaign in Italy against Austria. Napoleon Bonaparte's 23,000 Frenchmen defeated an attack of 28,000 Austrians under Feldzeugmeister Jozsef Alvinczi, ending Austria's fourth and final attempt to relieve the Siege of Mantua. Rivoli further demonstrated Napoleon's brilliance and led to French occupation of northern Italy.  We will re-fight the initial three hours of combat (12 Turns) where the French barely held back the Austrian assault.


Prelude:

Alvinczi's plan was to overwhelm Barthélemy Joubert in the mountains east of Lake Garda with the concentration 28,000 men in five separate columns, and thereby gain access to the open country north of Mantua where Austrian superior numbers would be able to defeat Bonaparte's smaller Army of Italy. Alvinczi attacked Joubert's 10,000 men on 12 January. However Joubert held him off and was subsequently joined by Louis-Alexandre Berthier and, at 2am on the 14th of January, by Bonaparte, who brought up elements of André Masséna's division to support Joubert's efforts to form a defensive line on favorable ground just north of Rivoli on the Trambasore Heights. The battle would be a contest between Alvinczi's efforts to concentrate his dispersed columns versus the arrival of French reinforcements.


The Battle of Rivoli (14–15 January 1797)
was a key victory in the French campaign in Italy against Austria. Napoleon Bonaparte's 23,000 Frenchmen defeated an attack of 28,000 Austrians under Feldzeugmeister Jozsef Alvinczi, ending Austria's fourth and final attempt to relieve the Siege of Mantua. Rivoli further demonstrated Napoleon's brilliance and led to French occupation of northern Italy.


Battle of Rivoli
Part of the French Revolutionary Wars
Napoleon at the Battle of Rivoli.jpg
Napoleon at the Battle of Rivoli, by Philippoteaux (Galerie des Batailles, Palace of Versailles)
Date14–15 January 1797
LocationRivoli Veronese, present-day Italy
ResultDecisive French victory
Belligerents
France First French RepublicHoly Roman Empire Austria
Commanders and leaders
Napoleon BonaparteJozsef Alvinczi
Peter Quasdanovich
Strength
23,00028,000
Casualties and losses
3,200-5,00012,000-14,000
Rivoli 1797 Campaign Order of Battle:

France:

Austria:

Key:

  • FM: Feldmarschall, army commander
  • FZM: Feldzeugmeister, army or corps commander
  • FML: Feldmarschal-Leutnant, corps or division commander
  • GM: General-major, brigade commander
  • OB: Oberst or colonel
  • bns: infantry battalions
  • coys: light infantry companies
  • sqns: cavalry squadrons

Battle:

The morning of the 14th saw fierce fighting along the Trambasore Heights, as another Austrian column under Prince Heinrich of Reuss-Plauen attempted to turn the French right via the Rivoli gorge. By 11:00 things looked very bad for Bonaparte: Austrian
dragoons had forced their way through the gorge, word arrived that another Austrian column under Colonel Franz Lusignan was cutting off his retreat south of Rivoli, and Alvinczi was on the Trambasore Heights urging his victorious battalions forward, though they were unformed by combat and rough terrain.

By a series of actions, the French managed to take advantage of this crucial mistake. Bonaparte, Joubert, and
Louis Alexandre Berthier put together a well co-ordinated combined arms attack. A battery of 15 guns blasted the dragoons, while two columns of infantry, one for the gorge and one for the Trambasore Heights were led forward supported by cavalry under Charles Leclerc and Antoine Lasalle. The packed masses in the gorge fled when their own dragoons were driven them over in panic. And likewise the dispersed infantry on the Heights were unable to hold once French cavalry got in their midst. Lastly, Gabriel Rey's division and Claude Victor's brigade arrived and broke Lusignan's southern column with the loss of 3,000 prisoners.

Results:

The next day Joubert led a successful pursuit of Alvinczi, all but destroying his columns, the remnants of which fled north up the
Adige River valley in confusion. The Battle of Rivoli was Bonaparte's greatest victory at the time. The French lost 2,200 killed and wounded and 1,000 captured, while the Austrians suffered 4,000 killed and wounded, plus 8,000 men and 8 guns captured. One authority gives the French 5,000 and the Austrians 14,000 total losses. Mantua surrendered on 2 February. In March, Bonaparte launched an offensive to the east.

Initial layout (French = Left / Austrians = Right) Joubert's troops.

A little bit better angle of the layout and troops for the initial part of the fight!

A view from the French side (Right Flank) and of Tom's great wargaming room.

And a view of our Left Flank (My troops)!

And the overall view from the Austrian perspective!


A view of Tom's great Austrian troops!

Ibid.

And another!

My forces initial setup plan!

And then my old friend Murphy showed up once again and I had to cover our rear with my cavalry right from the get go "Damn".

The Austrians Right Flank and my opponent Steve's initial set up!

The Austrian Left Flank (Tom's troops).

The Austrian guns show up across the river in our rear Right Flank. Will these be an important factor? "God I hope not"?

It's a good thing I did place my cavalry to the rear as here comes the Wargame God we must all bow down to "Murphy". Austrians on the Right Flank and threatening our rear already!!!! We just started.

And what they look like once Murphy wears off!

The Austrians advance into our positions and the fun begins. Units rapidly become fatigued and disordered! The French hold the hills so far. Holding the high grounds supposed to be a good thing Right???

And a scene of the action on the Right flank!

The scene on my Left Flank is becoming tense.

The Austrian 3lb Mountain guns come into range (Highly maneuverable) will they play an important role here too???

The Austrians come up. Will they be successful?


To Be Continued......